Step 1 - Create your Free or Paid SendGrid account by going over to www.sendgrid.com, ensure you pick Email as option.
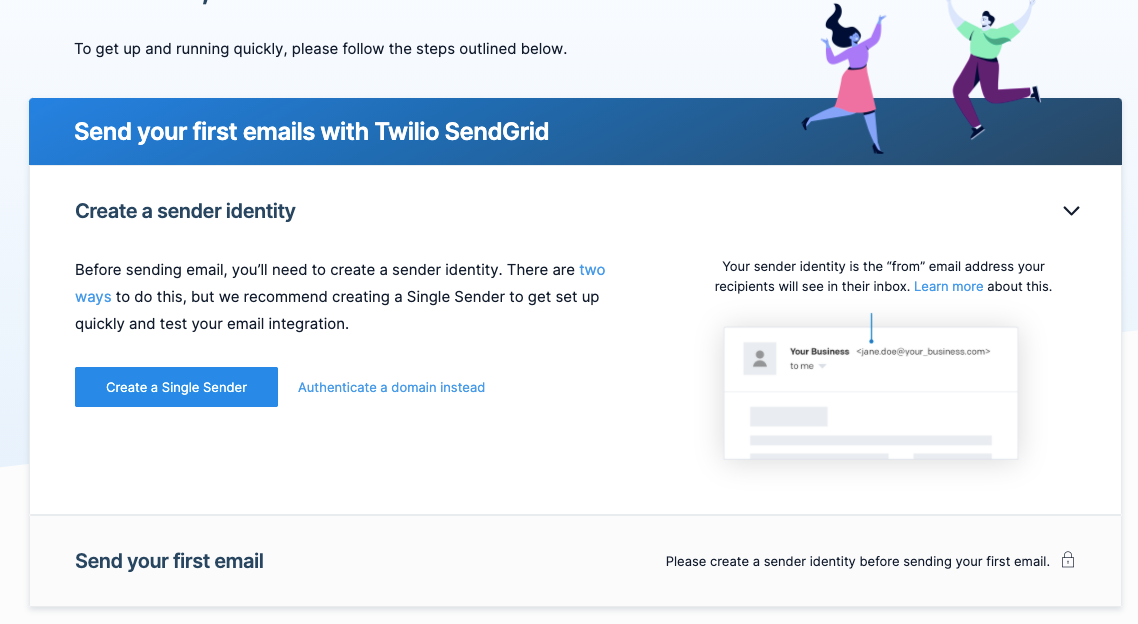
Step 2 - Once you complete the signup process, you need to create a “sender identity” in SendGrid. A sender identity is nothing but your “from email address” that your users will see when they receive email or calendar invites from you.
Note: Ensure you have an active email id that you enter over here and your “From” email address account handy with you before you create your sender identity.
Step 3 - Click on "Create a Single Sender" button or else, goto Settings > Sender Authentication (https://app.sendgrid.com/settings/sender_auth/senders/new)
Note – if you are advance user and plan to use multiple from email addresses (on same domain) for various campaigns, then it’s advisable to authenticate the domain itself.
Step 4 - From “Create Sender” screen, now add all the details as requested by SendGrid
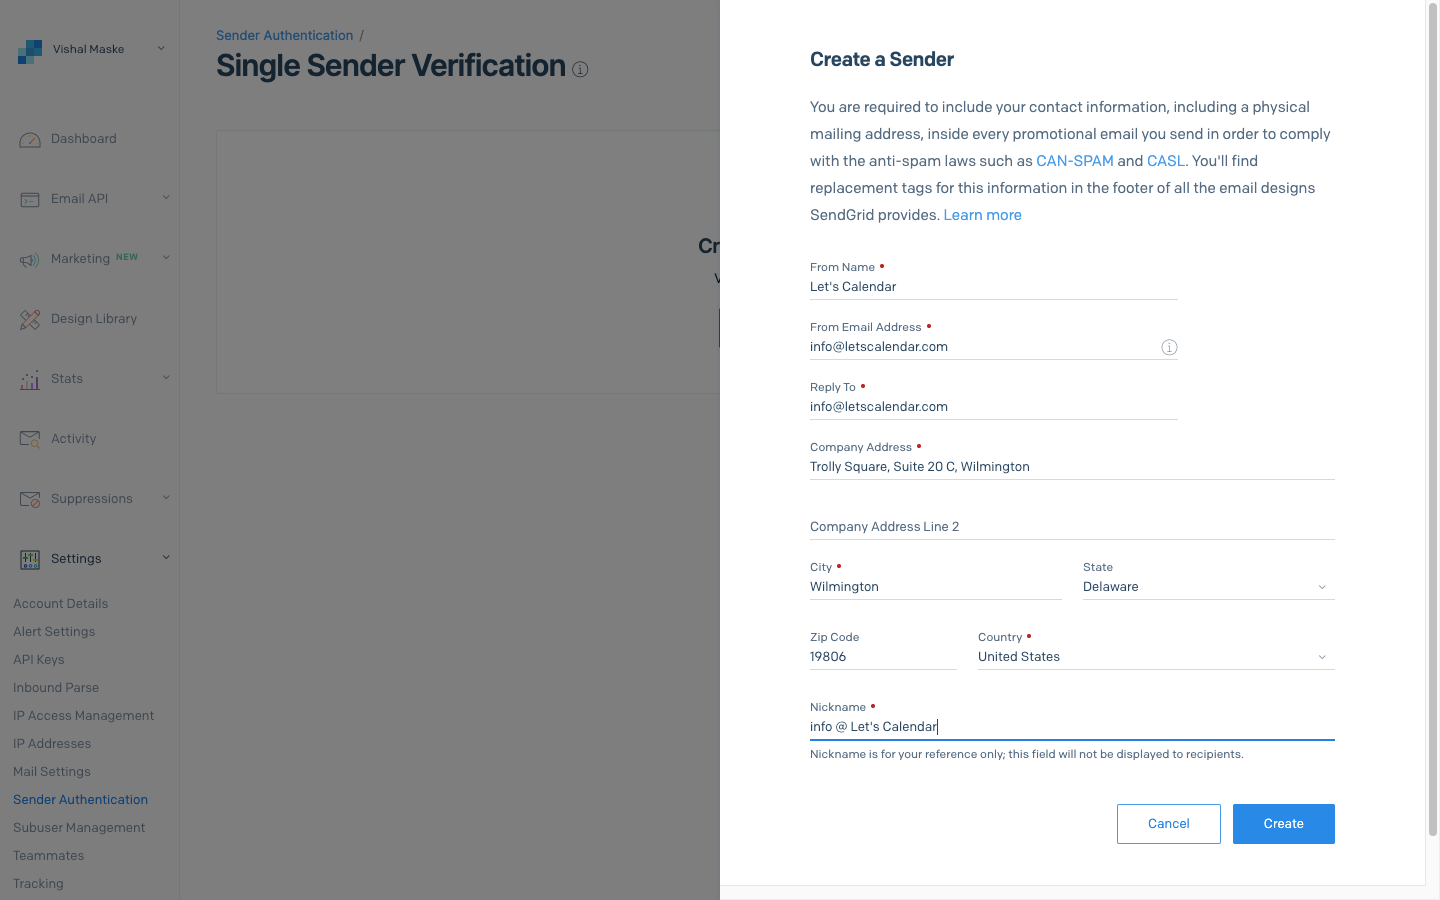
a. From Name – this is the name the users see when they receive an email from you, it can be your webinar or event’s name.
b. From Email Address – This is the actual email address via which your users will receive the email or calendar invite from. This needs to be an active email address, so pick and add an email address which you have access to and can login and confirm the email verification that SendGrid will perform
c. Reply To – Once again, this needs to be an active email address, you can keep it same as “From” email address or pick a different one.
d. Company Address – This is required to meet CANSPAM guidelines
e. Add City, Country corresponding to your business address
f. Add a friendly nickname for e.g. Webinars from domain name
g. Click on Create
Step 5 - Now SendGrid will send a verification email to the email address you added in the “From Email Address” option. Please goto the email inbox of this email address and find the email from SendGrid and then click on “Verify Single Sender” button.

Step 6 - You will be taken back to SendGrid and you should see “Sender Verified” message!
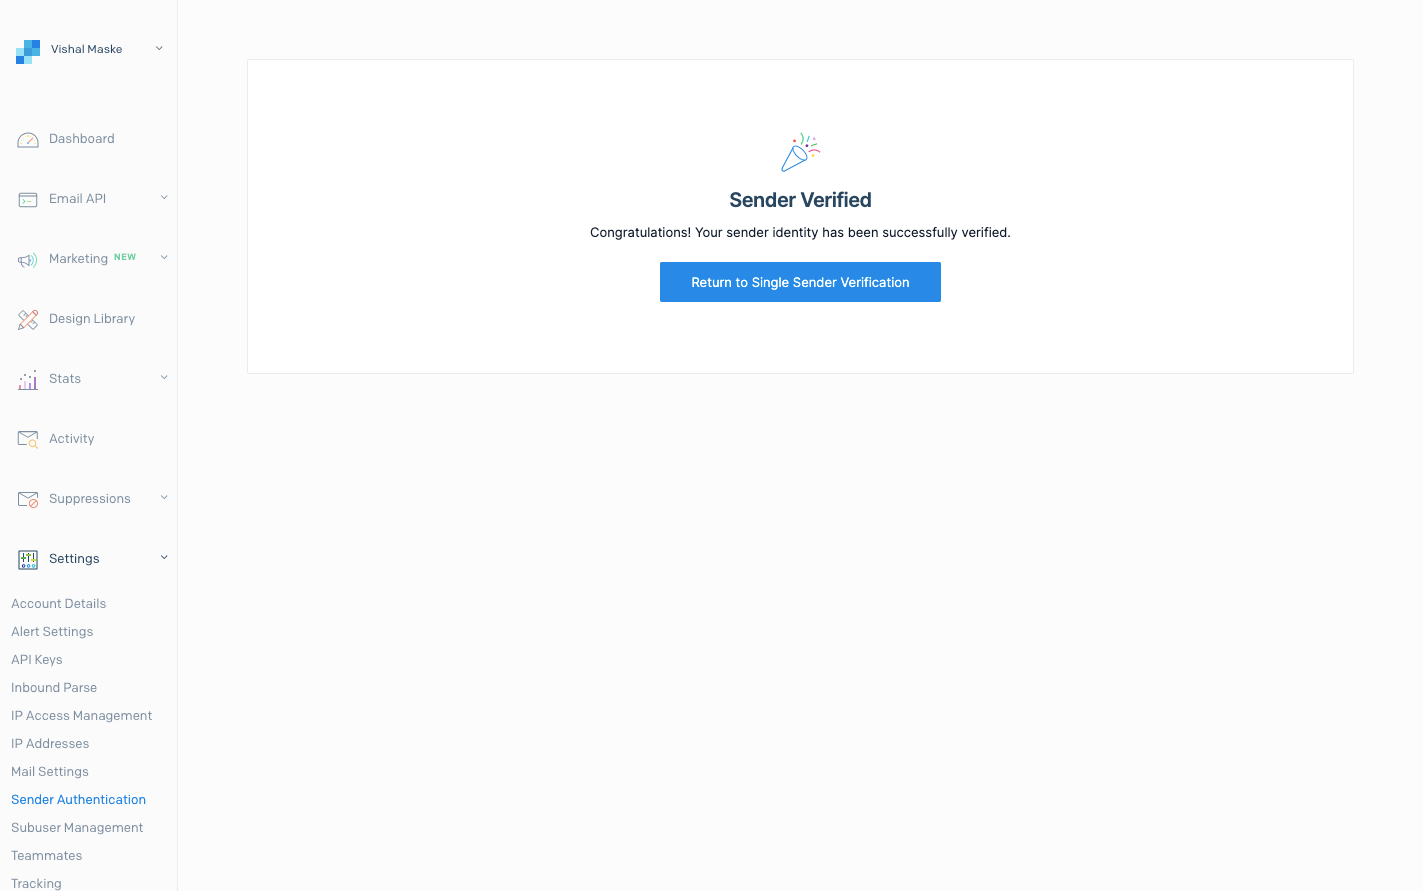
Step 7 - Now you are ready to send emails using SendGrid!