This article assumes that you have created your Mailjet account and setup it's SMTP configuration as well as entered the same in Let's Calendar. Also in Let's Calendar your Sending Domain and email address is configured.
Step 1 - Click on “Campaigns” and “Campaigns List” in Let’s Calendar and view a list of campaigns you have already created. If you have not created any new campaigns so far, please create a new campaign first.
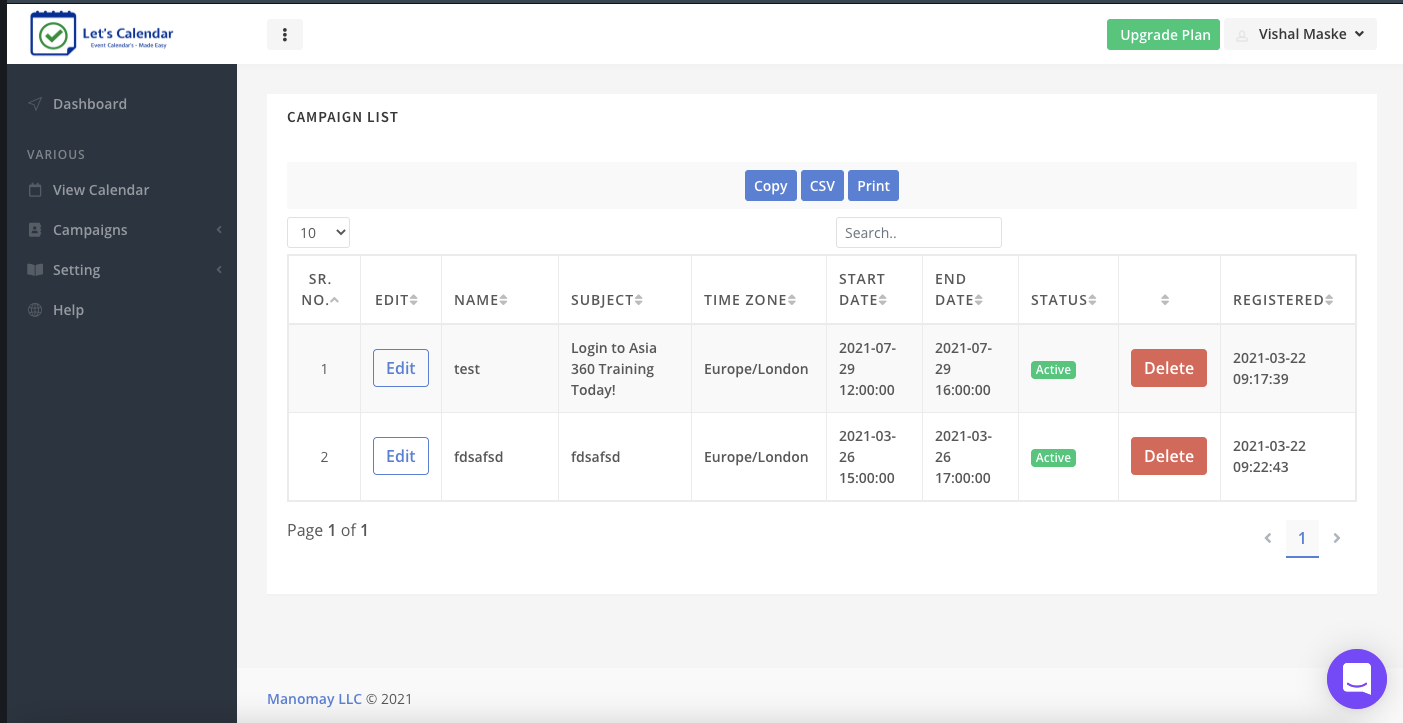
Step 2 - Click on “Edit” on any one of your campaigns
Step 3 - Under From Email id drop down, select the newly added Email id that is same as your identity in Mailjet -> Or else if it's a new campaign select the newly added Email ID over here.
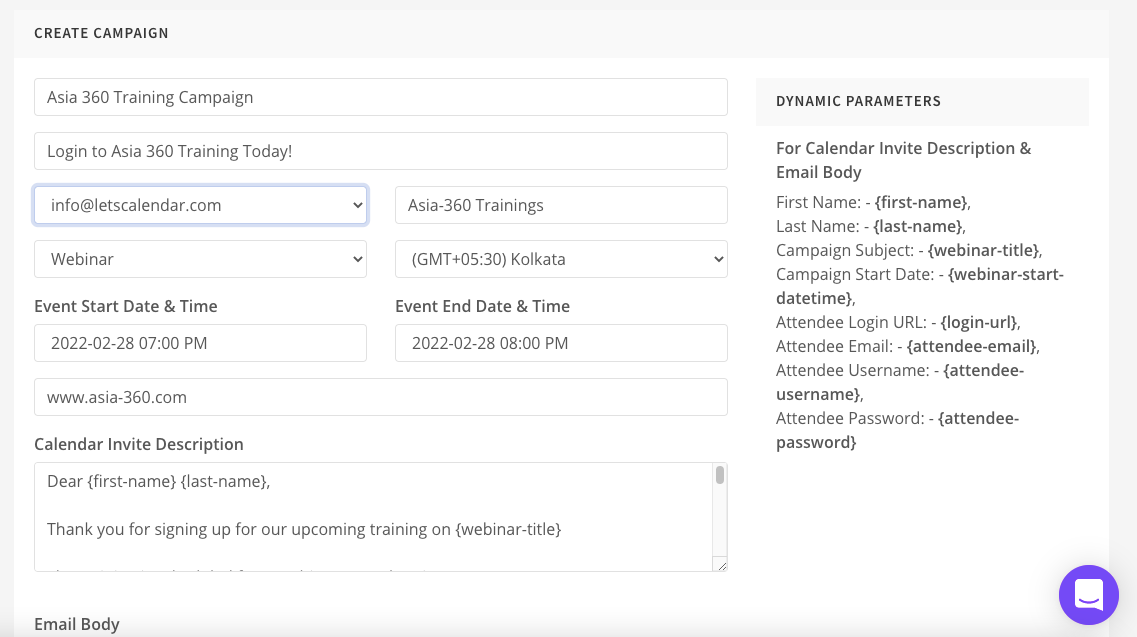
Step 4 - Keep rest settings same and click submit at the end of your campaign, or else enter test campaign data for your campaign over here. Ensure that the event date/time are set in future.
Step 5 - Wait for message “Campaign updated successfully”
Step 6 - Now head over to Campaign -> Send Invite
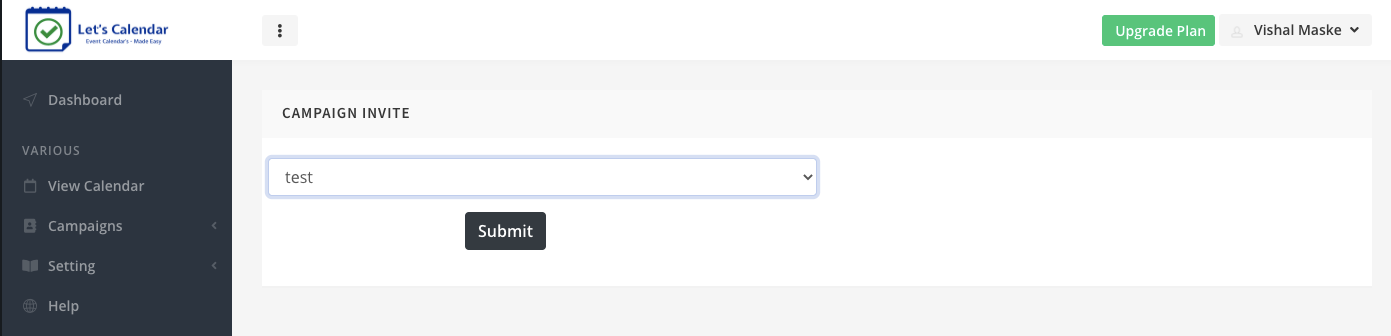
Step 7 - Select the Campaign you just now edited
Step 8 - Now click on “Send Test Calendar Invite” button
Step 9 - Enter your name and email id of an account that is not on the same domain (e.g. Gmail)
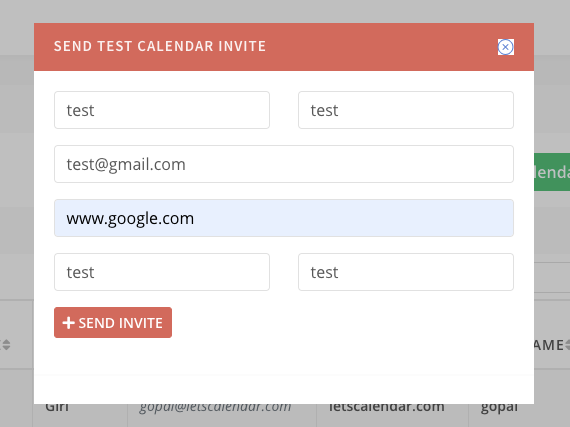
Step 10 - Click on Send Invite -> You should get a “Success” message, open the test email inbox and check for the calendar invite.
That's it, you have configured your Mailjet SMTP successfully!