Once you’ve uploaded or added your attendees using the Upload Attendee option, follow the steps below to send calendar invites.
Step 1: Go to Your Campaign
Navigate to Campaigns → Campaign List
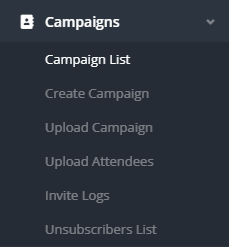
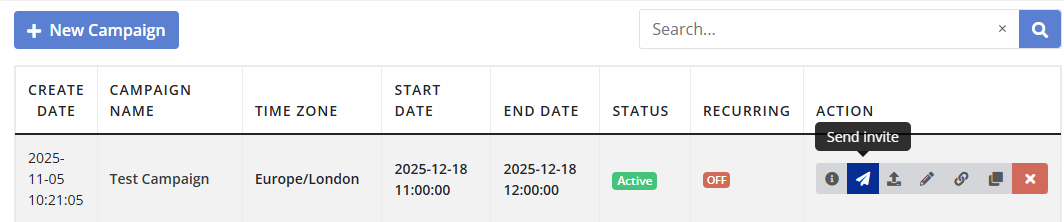
Find the campaign for which you want to send invites and click on the Send Invite (Paper Plane Icon) button in front of it.
Step 2: Manage Your Invites
At the top of the contact list, click on Manage Invite.
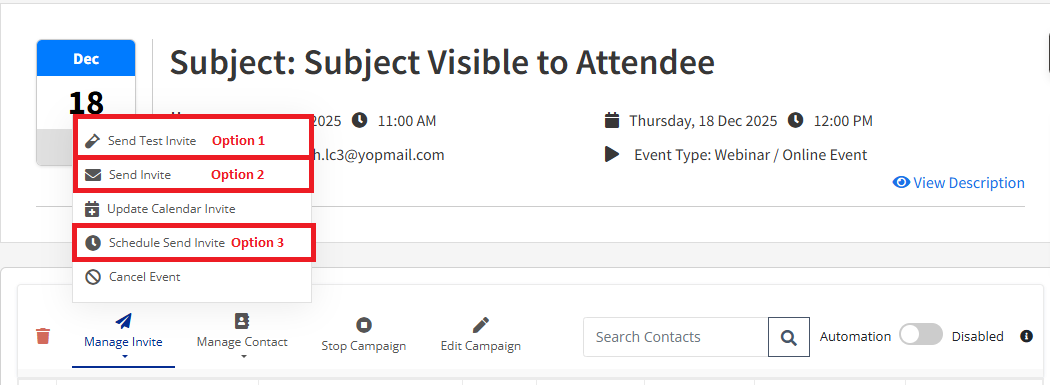
You will see the following options:
Send Test Calendar Invite
Send Invite
Schedule Send Invite
Option 1: Send Test Calendar Invite
Select “Send Test Calendar Invite.”
A pop-up will appear where you need to enter:
Enter the First Name, Last Name, and Email ID
Then, click "Send Invite" to send a test calendar invitation.
The test contact will also appear in your contact list with status Sent (invite sent to the contact).
Option 2: Send Invite
Select “Send Invite.”
- A pop-up will appear showing the total count of New attendees.
- Click on the Send Invite (Green Button) to send calendar invites to all attendees with status “New(invite not yet received).”
Option 3: Schedule Send Invite (Available for Business & Enterprise Plans)
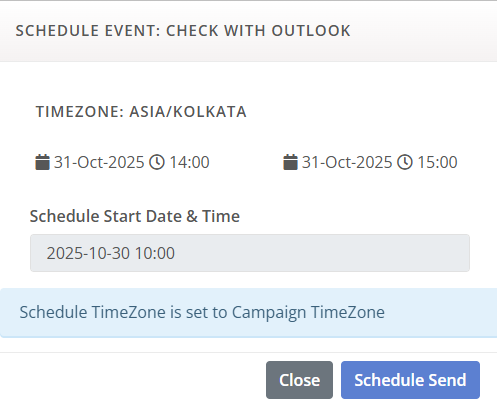
Select “Schedule Send Invite.”
A pop-up will appear where you can select your preferred date and time to automatically send invites to all “New” attendees.
Note: Depending on your SMTP server, it can take anywhere from 1 to a few minutes for all the invites to go out.
That's It! Your invites are on their way to the recipients!
If you have any questions or specific requirements, please write to us at support@letscalendar.com.