Let’s Calendar is basically an application through which you can send bulk calendar invites by connecting with any SMTP service like Amazon SES.
In this documentation, we’re going to see the steps that are needed to create an Amazon SES account.
Once you have created Amazon SES account, you will get Amazon SES credentials namely “Access Key ID” and “Secret Access Key”, which you will be going to place in your Let’s Calendar account.
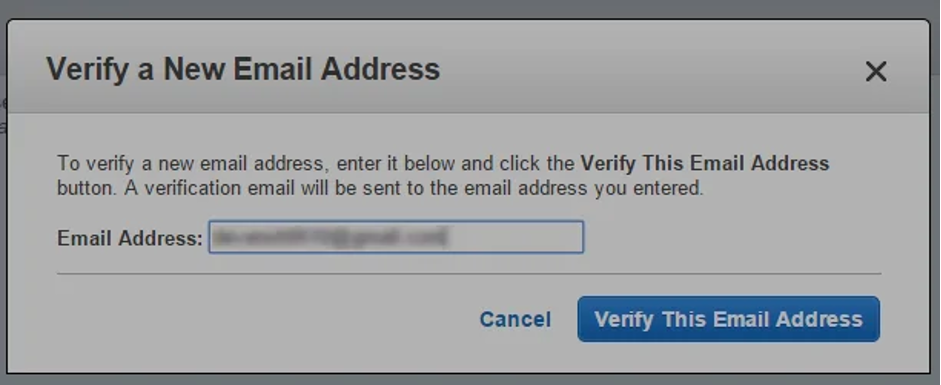
Along with this, you will have to verify the email address also through which you’re willing to send emails.
Below is the step-by-step procedure to setup Amazon SES account and verifying the email address.
Steps to Setup Amazon SES Account
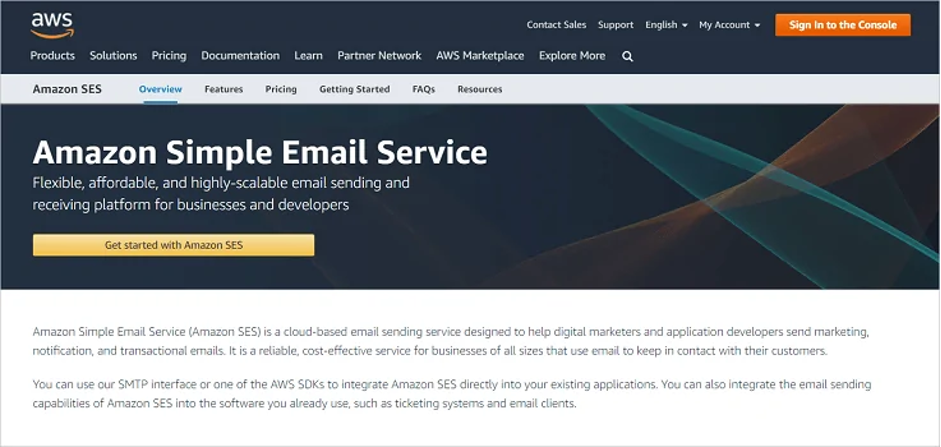
Step 1. Go to Amazon SES website
Open Amazon SES website (https://aws.amazon.com/ses/) and then click on “Get started with Amazon SES” button.
Step 2. Create an Account
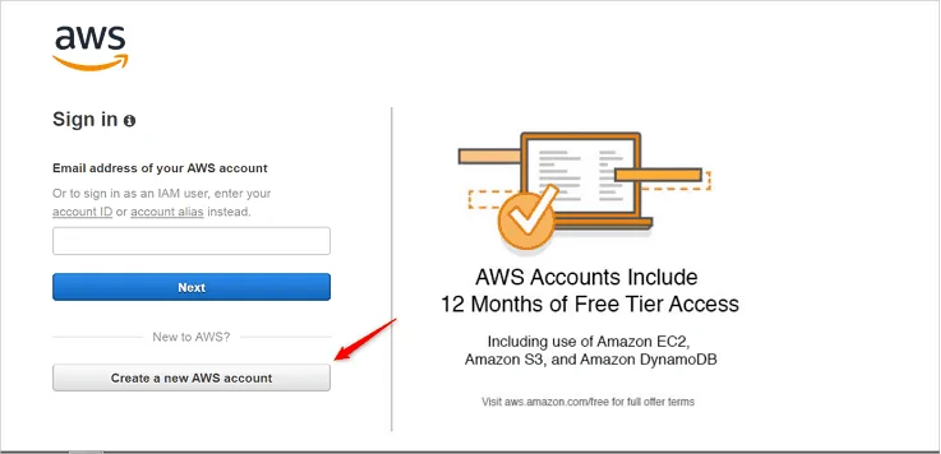
On the page appeared, you will have two options either to sign in or to create an account. If you already hold an Amazon SES account, then you can simply login to your account
If you are a new user, then click on the “Create a new AWS account” option.
On the page appeared, you will have two options either to sign in or to create an account. If you already hold an
Amazon SES account, then you can simply login to your account
If you are a new user, then click on the “Create a new AWS account” option.
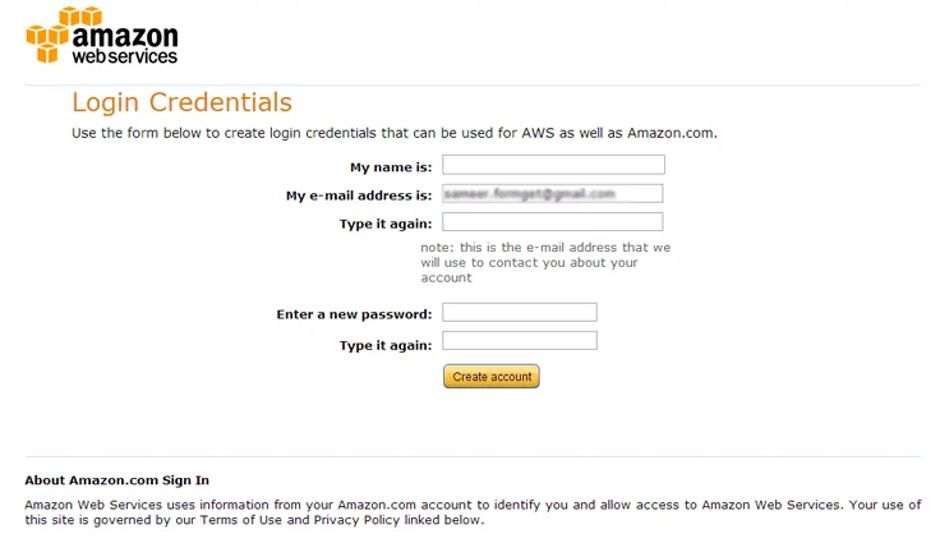
Step 3. Enter Login Credentials
Now on this Login credentials page enter your name, re-type your email ID and a password. Now click on “Create account” button. You have now successfully registered an AWS account and only a simple 5 step process of filling contact information, payment information, verification, selection of support plan and confirmation is left.
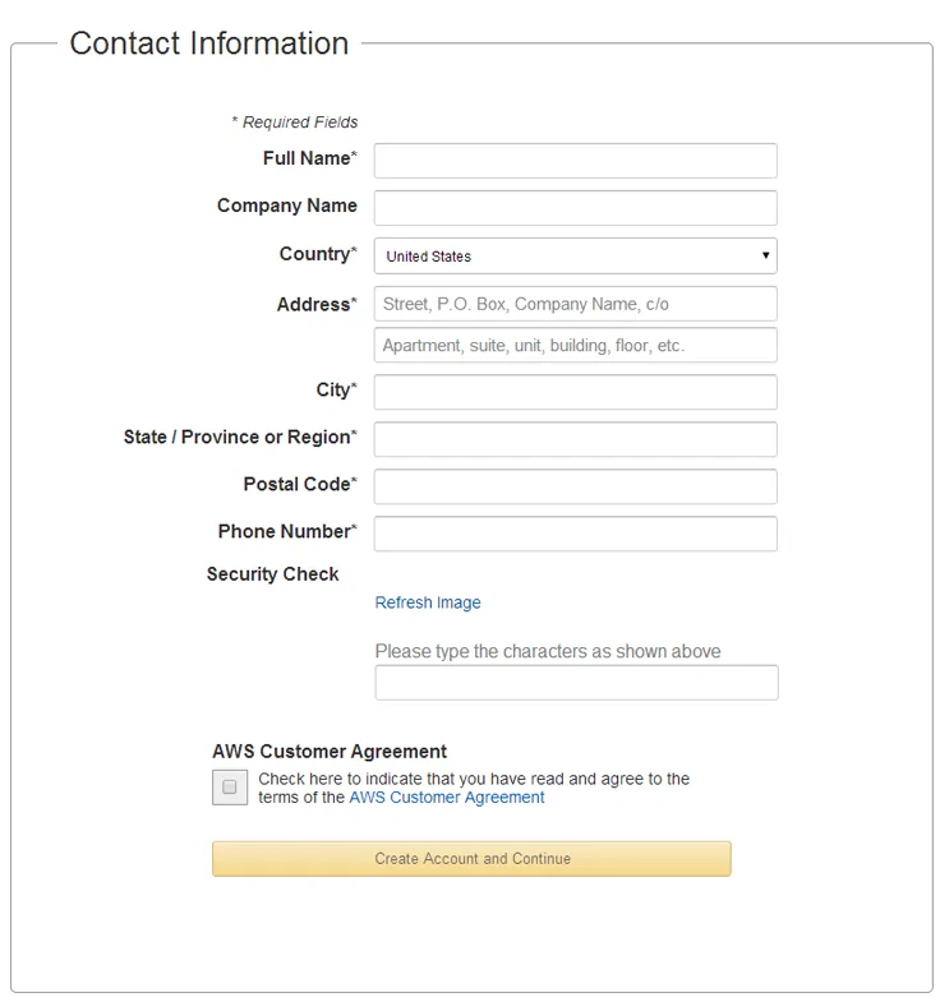
Step 4. Enter Contact Information
When you click on “Create account” button you will be redirected to a page asking for contact information.
There you need to fill your basic information like your name, your company’s name, your country, your address, your city, state, postal code, and your phone number.
This will be followed by a security check where you will have to enter the captcha. Now put a tick on the AWS customer agreement (after reading it properly) a click on “Create account and continue” button.
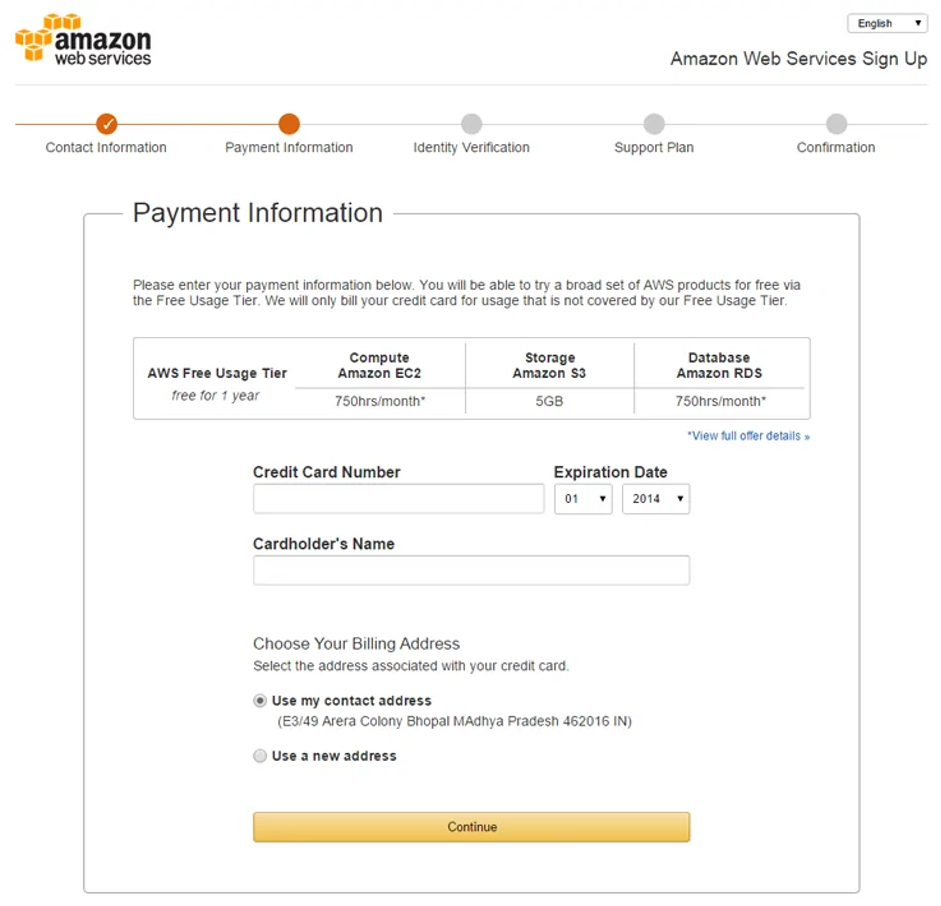
Step 5. Enter Payment Information
Now on the payment information page enter your credit card number and expiration date followed by card holder’s name. Here you also have a choice of selecting your billing address; choose your billing address and click on “Continue” button. As shown below : -
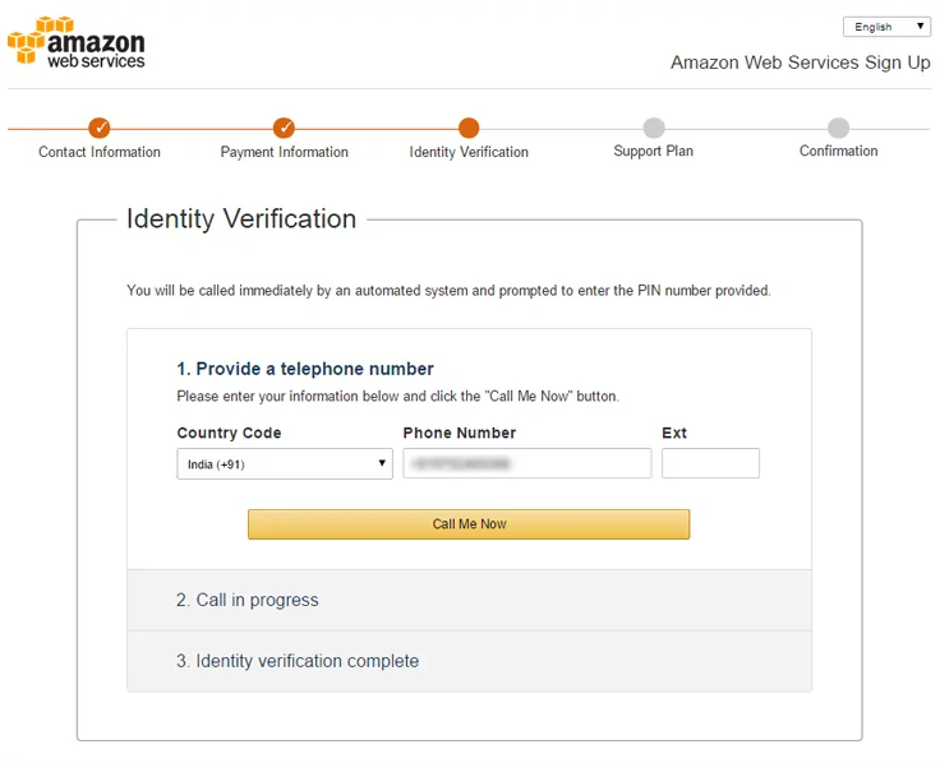
Step 6. Identity Verification
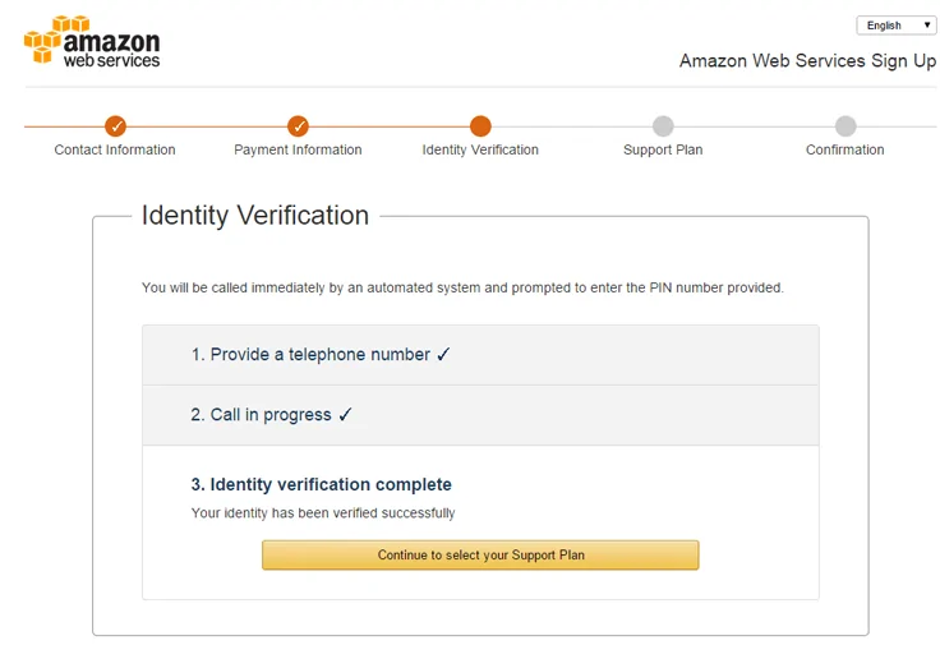
The next step will be identity verification where you have to provide your phone number and then click on “Call me now” button. You will get a 4-digit verification code and will receive an automated call simultaneously. Enter this code through your phone.
Then you will see a window confirming your verification. In that window click on “Continue to select your Support plan” button.
Step 7. Select Your Plan
Now on this page select your plan according to your utility and click on “Continue” button.

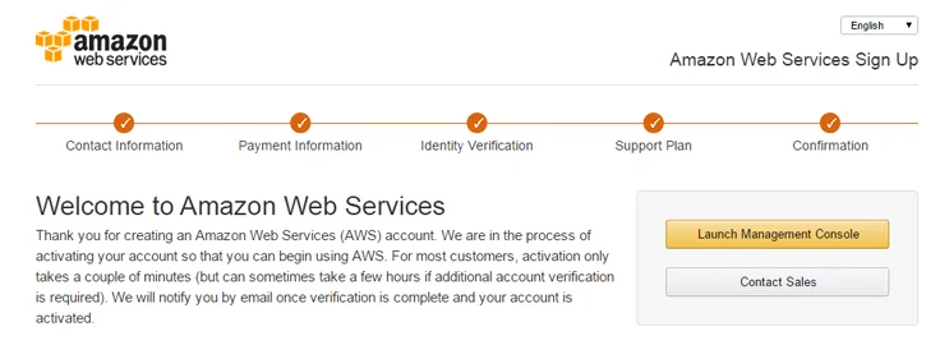
Step 8. Confirmation Page
Now a confirmation window will appear where you will see a “Launch management console” button. Click on “Launch management console” button.
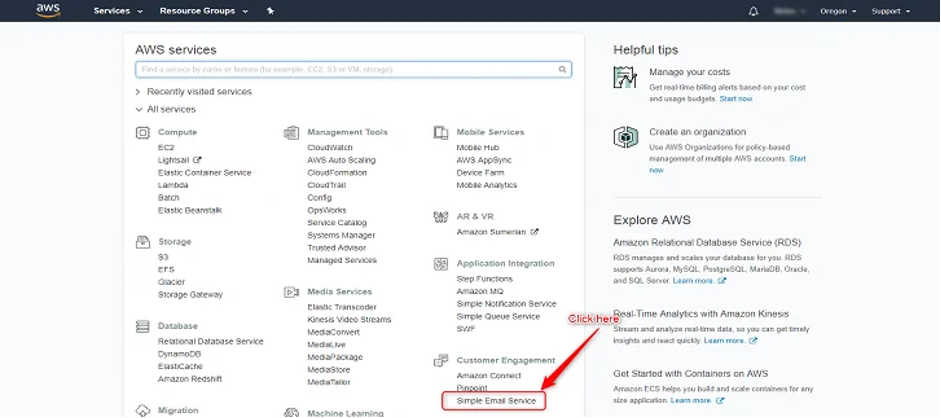
Step 9. Click on SES (Simple Email Service) icon
Click on the SES icon as mentioned in below image to start with email services.
This may take some time, you need to be patient. You will receive an email once it’s done.
Now your verification status will be pending until your email address is verified.
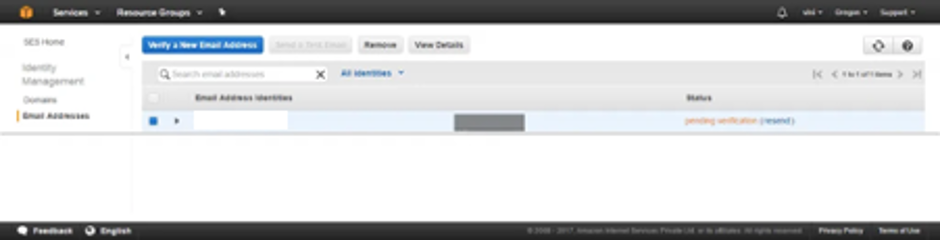
Click on the verification link sent to your email ID and verify the email address.

When you click on the above link your verification status will change from Pending to Verified.

The setup of your Amazon SES account to your Let’s Calendar account is now complete, you can use it to send emails through Let’s Calendar.
