Since you are using your own identity to send out calendar invites, Let's Calendar needs access to login to your email account and send the calendar invites. Hence we highly recommend for your own security reasons to create a new user under your domain and use that email account with Let's Calendar, and not your official business email account.
Step 1 - Goto https://support.google.com/mail/answer/7104828?hl=en&visit_id=637537240527376195-416648680&rd=1 and scroll down to Outgoing Mail (SMTP) Server settings
Step 2 - Ensure your admin has not changed or added any custom parameters, copy over the settings onto a notepad
SMTP URL: smtp.gmail.com
Requires SSL: Yes
Requires TLS: Yes (if available)
Requires Authentication: Yes
Port for TLS/STARTTLS: 587
User Name, or Email address: Your email address
Password: Your Gmail password
Step 3 - Login to your Let’s Calendar account and navigate to Settings -> SMTP Config
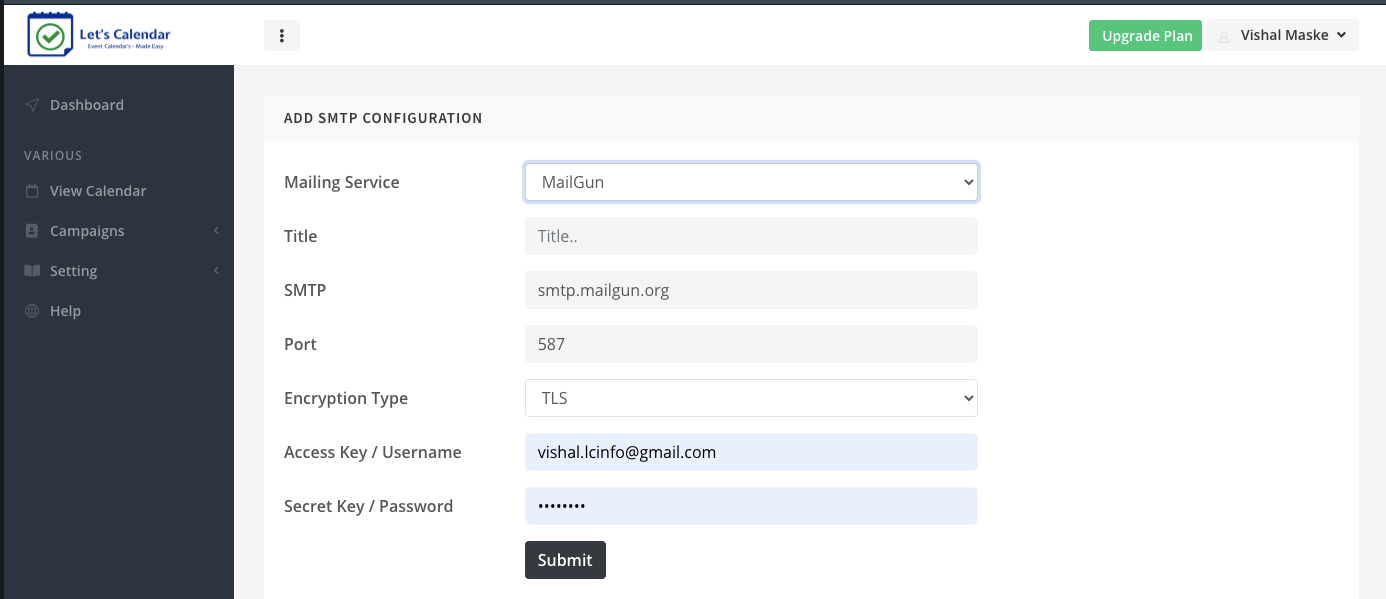
Step 4 - Select “Gsuite/Gmail” under Mailing service and set it up with following details -
Step 5 - Title – Give a friendly title typically your domain / sending name related so you can identify easily e.g. Info @ Let’s Calendar (GSuite)
Step 6 - Now rest settings we need to enter as per what we copied over from Mandrill's SMTP Settings -
a. SMTP – this should be pre-filled as smtp.gmail.com, if not enter the same or enter the info that was displayed to you by GSuite Settings
b. Port – 587
c. Encryption Type – SSL (If you change this to TSL, then be sure to change the port to 465)
d. Access key / Username – Email Address
e. Secret Key / Password – Password you use to login to the above email account
f. Click on “Submit” - You should get a message SMTP Config Created Successfully!
Step 7 - Now navigate to “Settings” and “Domain Email” to now configure your “Sending identity”
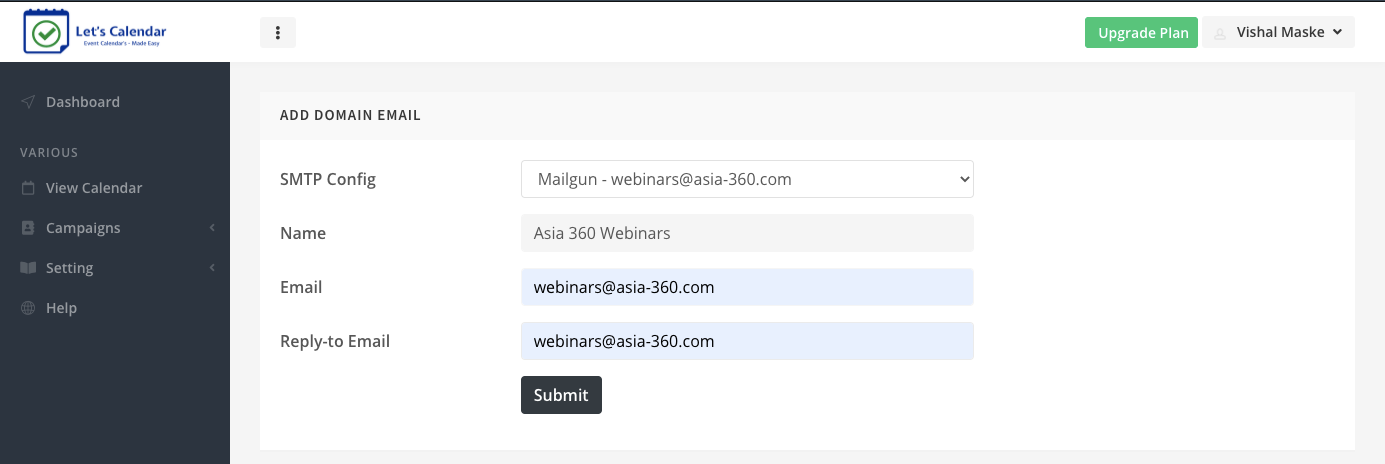
Step 8 - Under SMTP config drop down, select the SMTP you just now configured.
Step 9 - Enter the “Senders Name”, this should be same as the sender’s name you wish your users to see when they receive the invite from you.
Step 10 - Next, Enter Sender Email ID – enter same as that you entered in user name of SMTP settings.
Step 11 - Enter Reply-to Email id - Enter the email id where you wish to receive any replies to your campaigns, ideally enter a non-gmail/non-google email id here to receive calendar invite responses "Yes, No, Maybe"
Step 12 - Click “Submit” and you should get a message “Domain Email Created Successfully.”
Step 13 - You have successfully configured your SMTP settings with Gsuite, next would be to test out the configuration by sending a test calendar invite.